Hiking the Quilotoa Loop sits comfortably among the best things to do while wandering around Ecuador. Encompassing the villages of Sigchos, Isilnivi, Chugchilan and Quilotoa (and its beautiful Lagoon), this multi-day hike is the perfect activity for those looking to discover a relatively tourist-free heart of the country. And believe it or not, the costs for this hike are within the average backpacker budget!
Whether you’re planning to do the whole loop or just a part of it, each little village offers accomodation and transport to the other villages so don’t worry if you feel like you haven’t got enough time. Just choose which part suits you, pack your bag and start walking! Read our 8 Tips for Hiking the Quilotoa Loop.
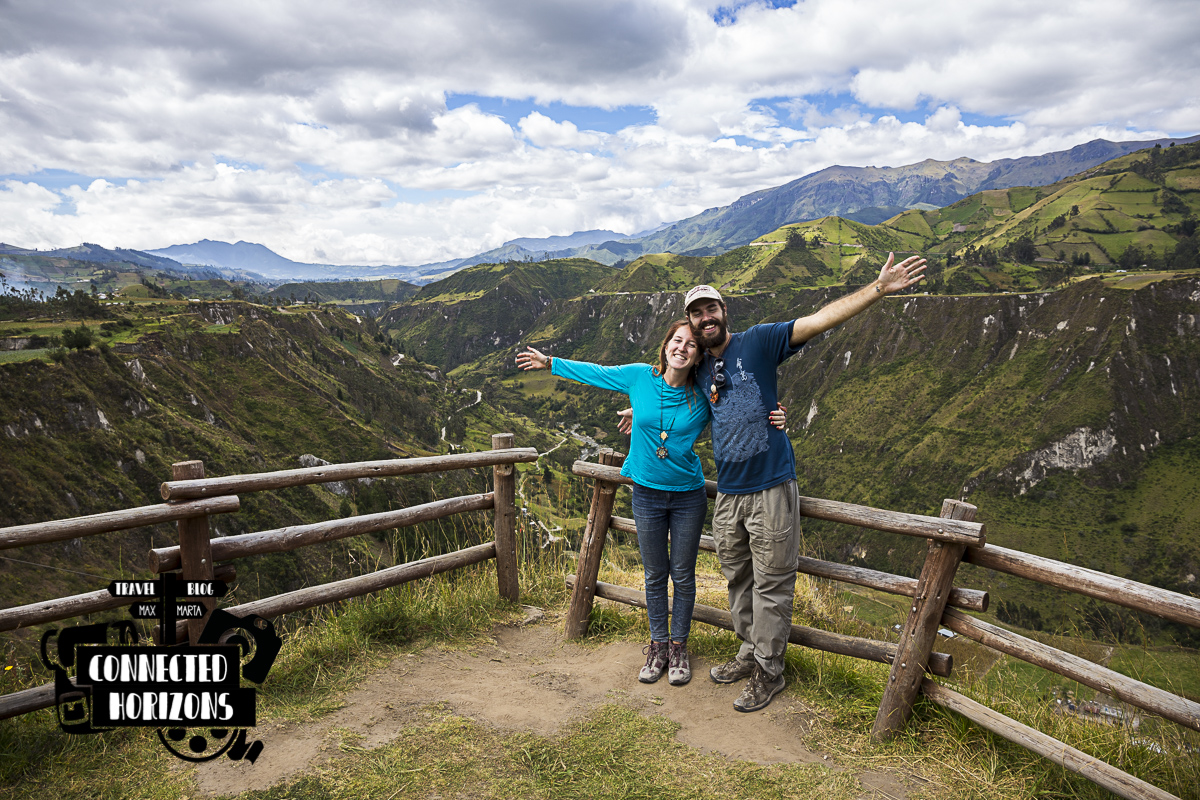
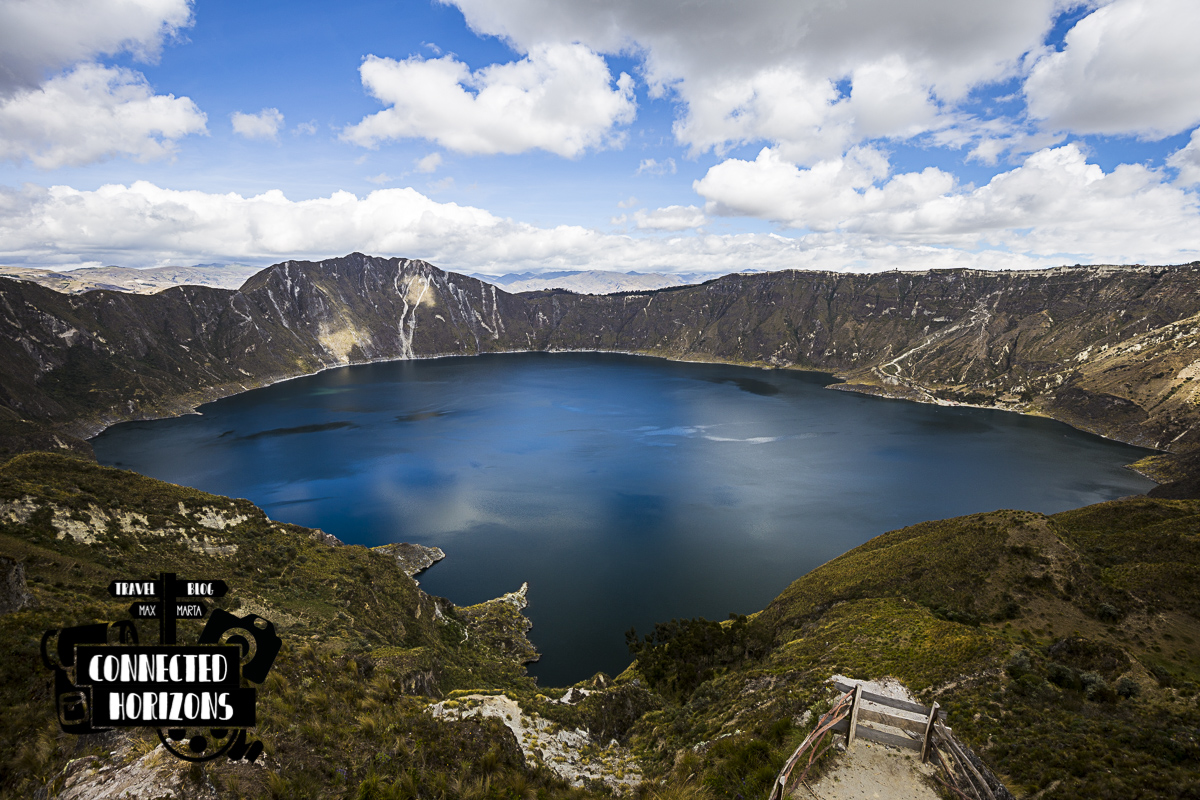
Most of the hikers looking for a challenging adventure, opt for starting the hike in Sigchos and keep the Quilotoa Lagoon as a final treat (mostly uphill – apparently this is the “counterclockwise loop”) but some people also decide from doing the official walk starting in Quilotoa first. On our opinion, doing the loop counterclockwise (Sigchos->Quilotoa) is definitely the best way to embrace this hike: the last meters up the volcano crater will give you a real sense of achievement!
Sigchos to Isinlivi
4-5h | 14km
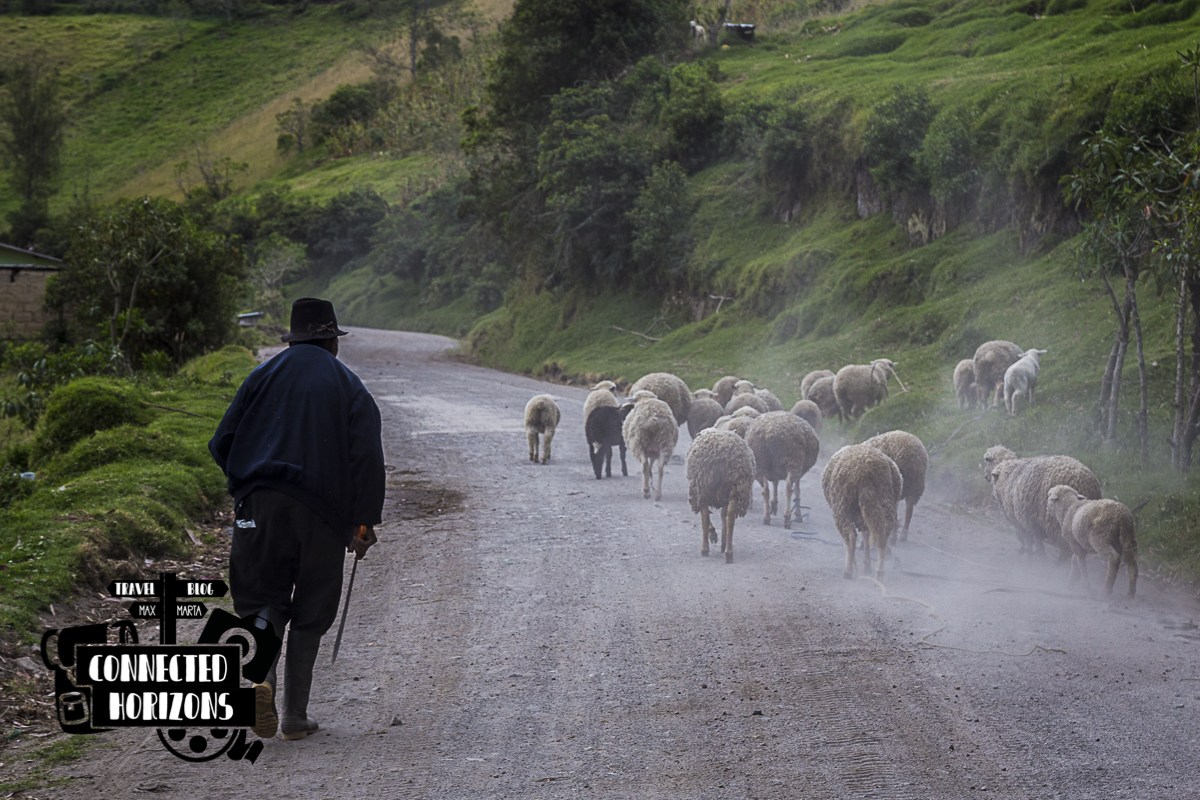
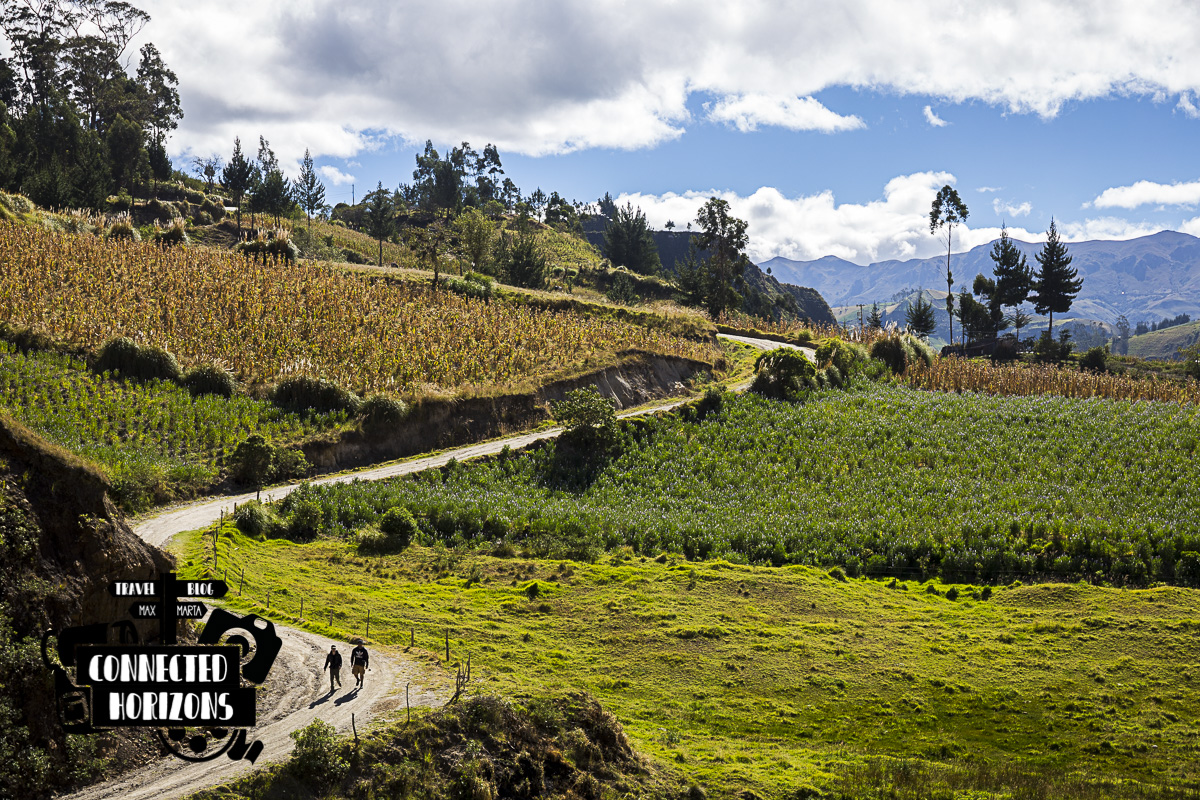
After getting to Sigchos with one of the frequent buses leaving from Latacunga, finding your way to the beginning of the well-marked path is pretty easy. This part of the walk is mostly on a dirt road that winds up and down a couple of small valleys before a last climb up to the town of Isinlivi. All throughout the walk the views are pretty amazing and should you feel tired along the way, its not uncommon for pick-up drivers to give free rides into town to hikers. Following the dirt road from start to destination is going to be your trail map!
Read more at Short Guide for Quilotoa Loop: Transport, Accomodation & Food.

Isinlivi to Chugchilan
5-6h | 15km
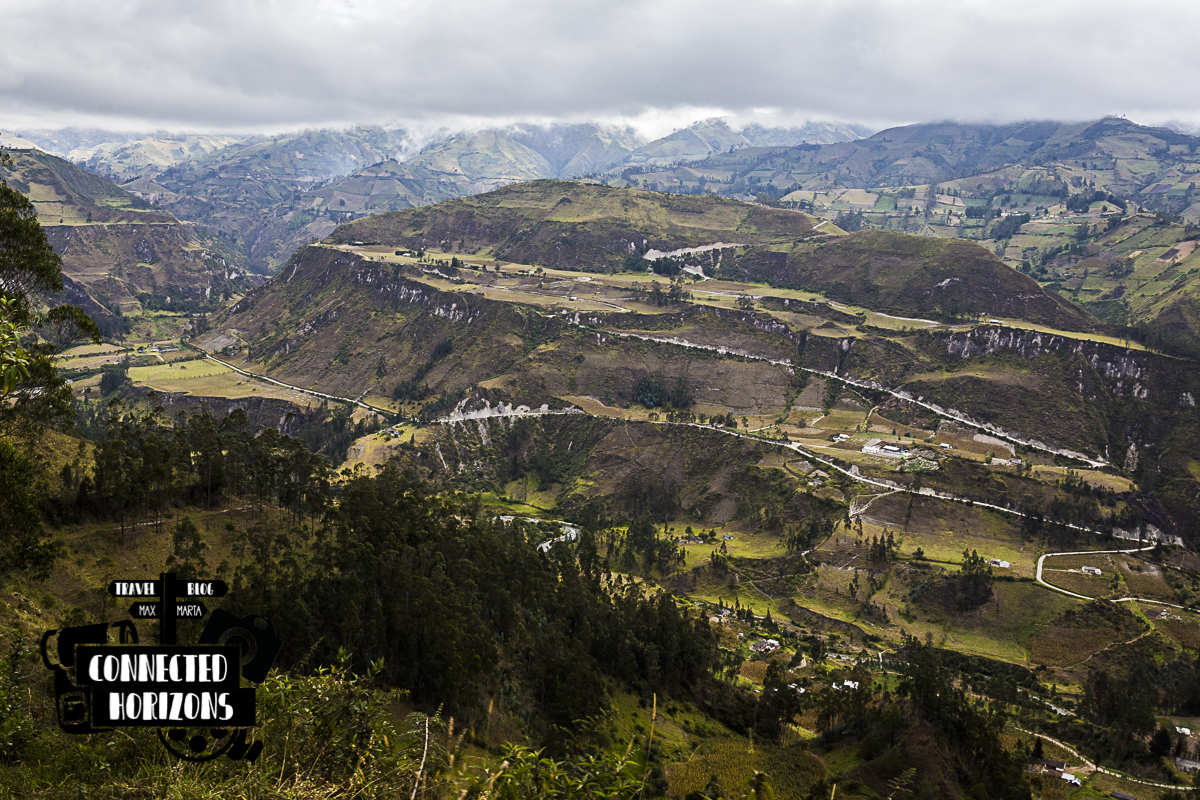
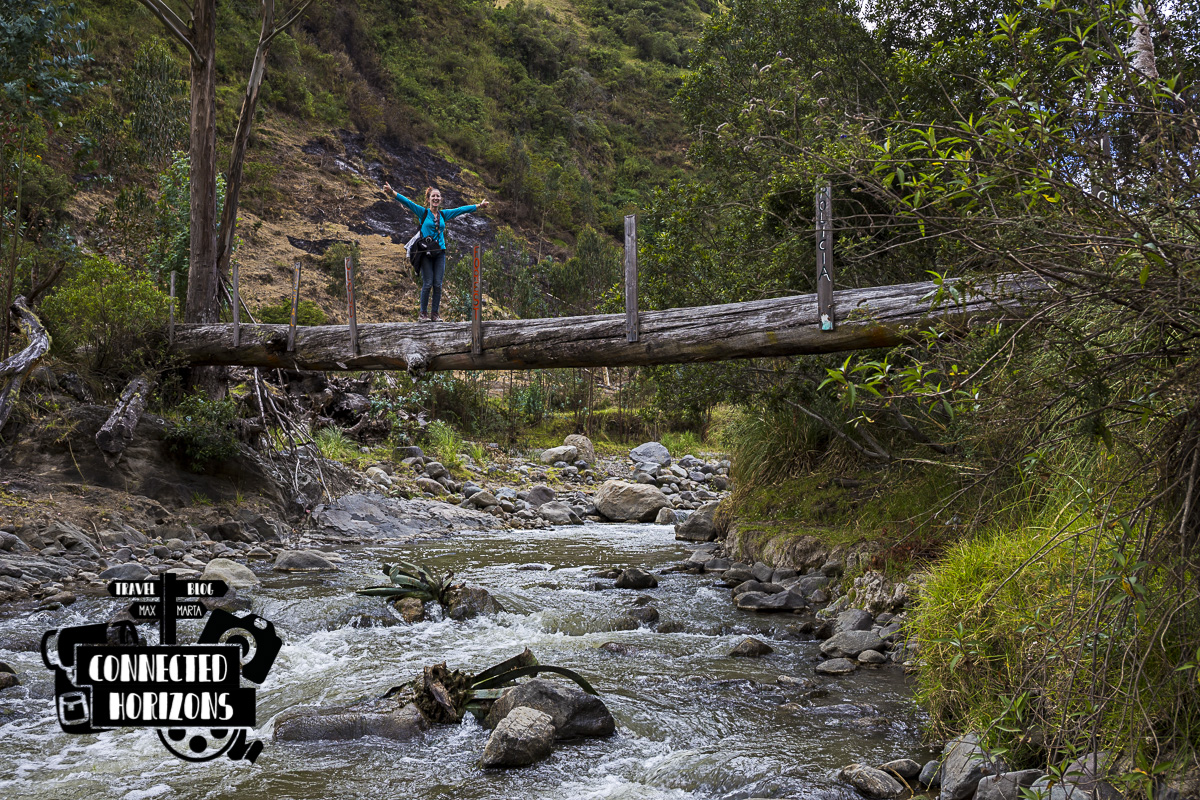
Many hikers opt for starting the Loop from the small town of Isilnivi after getting the direct bus from Latacunga to the small village. In comparison to the previous section, this part of the hike is slightly harder since it’s mostly on actual hiking paths that go through farmlands before winding up and down the awesome Canyon of Toachi. Just some meters off the path, some time before the trail meets the paved road in the final part, definitely take time to enjoy the breathtaking views of the Canyon from a newly-built mirador on top of the canyon ridge. Un-for-get-ta-ble! And don’t forget to try the Chocho seeds, a local snack that you can buy at the mirador for just 0.50$ our bag.
Read more at Short Guide for Quilotoa Loop: Transport, Accomodation & Food.
Chugchilan to Quilotoa
6-7h | 15km
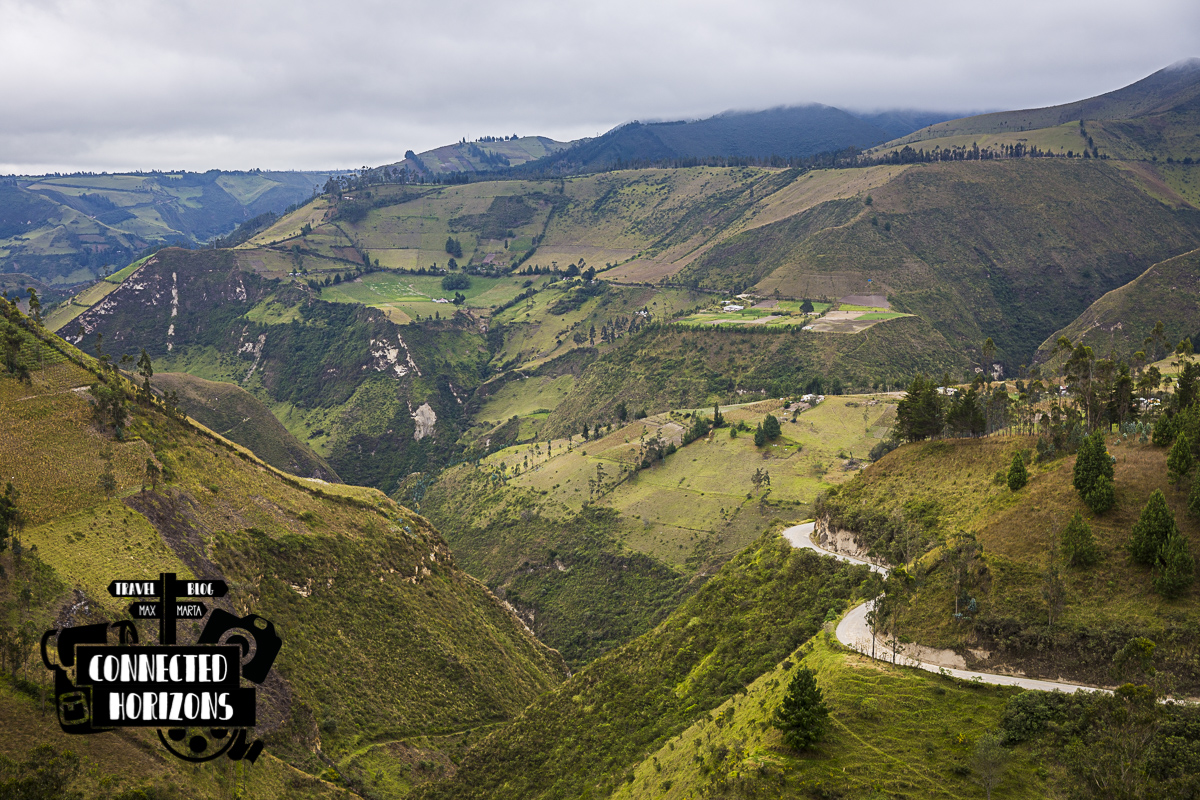
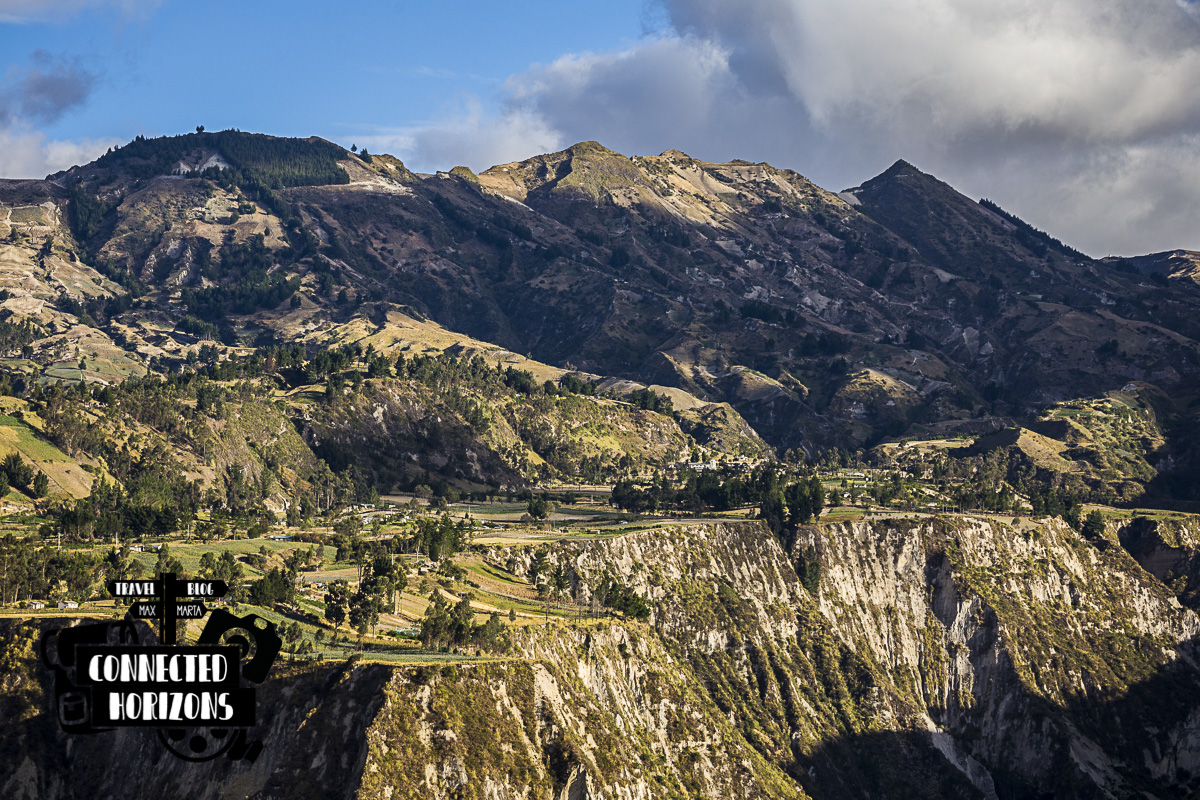
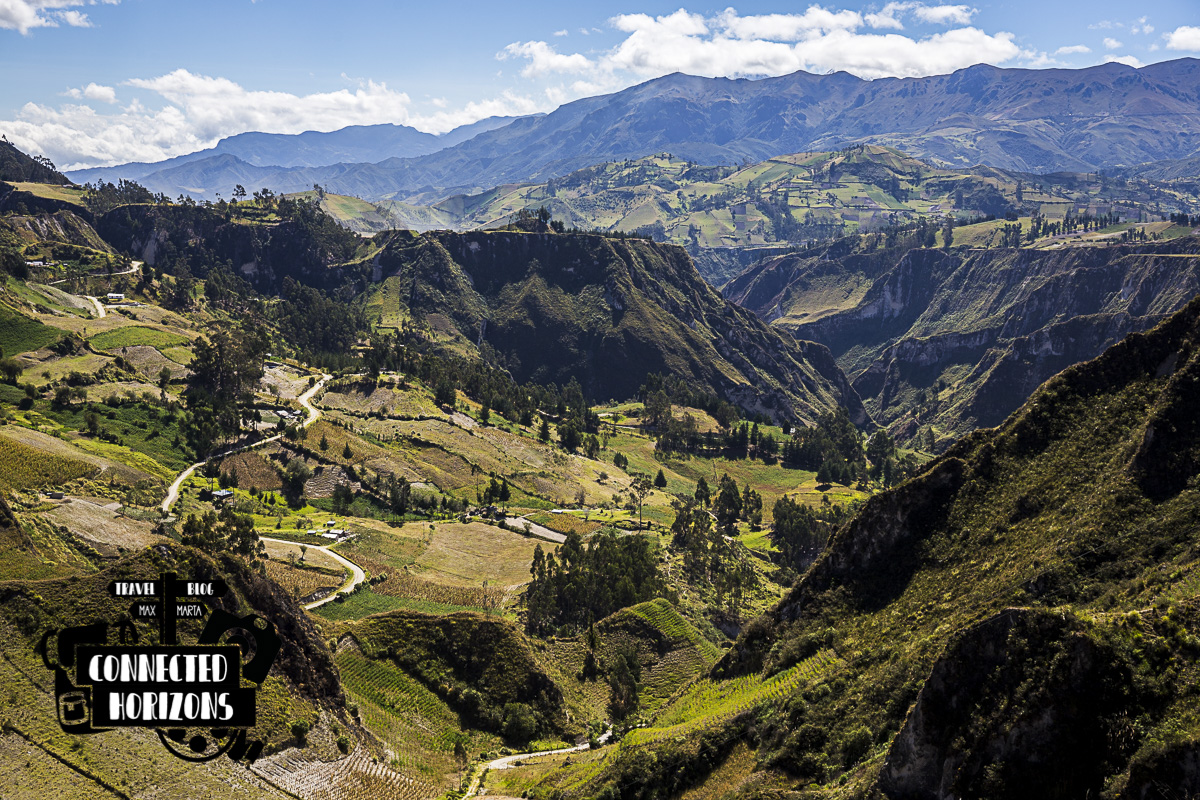
This is definitely the hardest part of the loop since it’s the bit where you’ll pretty much always be walking uphill until the rim of the crater. The walk will bring you through farmlands, canyons and rivers in what is probably the most complete hike in terms of landscapes. Currently, there are two trails (one long and one shorter) that both meet up in the small village of Italu just at the base of the crater before starting the ascent.
The shorter trail, which is also the first one to be signalled as “Quilotoa Loop Trail”, is much more difficult and dangerous (danger of landslides) than the longer one and hence not suggested by pretty much all hostels. The longer one is the safest but the most difficult to follow of the two but don’t you worry: all hostels in Chugchilan will provide you with a step-by-step map on how to not get lost along the way! Consider that the last 3km of the hike will be on the relatively flat crater rim.
Read more at Short Guide for Quilotoa Loop: Transport, Accomodation & Food.
Quilotoa to Zumbahua
4-5h | 13km
Once reaching the Quilotoa Lagoon not many people are willing to “complete” the walk and hike down to the town of Zumbahua on a paved road. Even though the beautiful views might make up for the road, it’s rather an easier journey to take the frequent buses leaving from Quilotoa straight to the town of Latacunga and spend another day around the crater instead of walking. Getting to Zumbahua is pretty easy, just follow the paved road to the end!
Read more at Short Guide for Quilotoa Loop: Transport, Accomodation & Food.
[embedyt] https://www.youtube.com/watch?v=mZeEyoorK8Q[/embedyt]
PLANNING A TRIP TO ECUADOR? CHECK MORE POSTS BELOW!
[pt_view id=”5006ac3gqi”]